
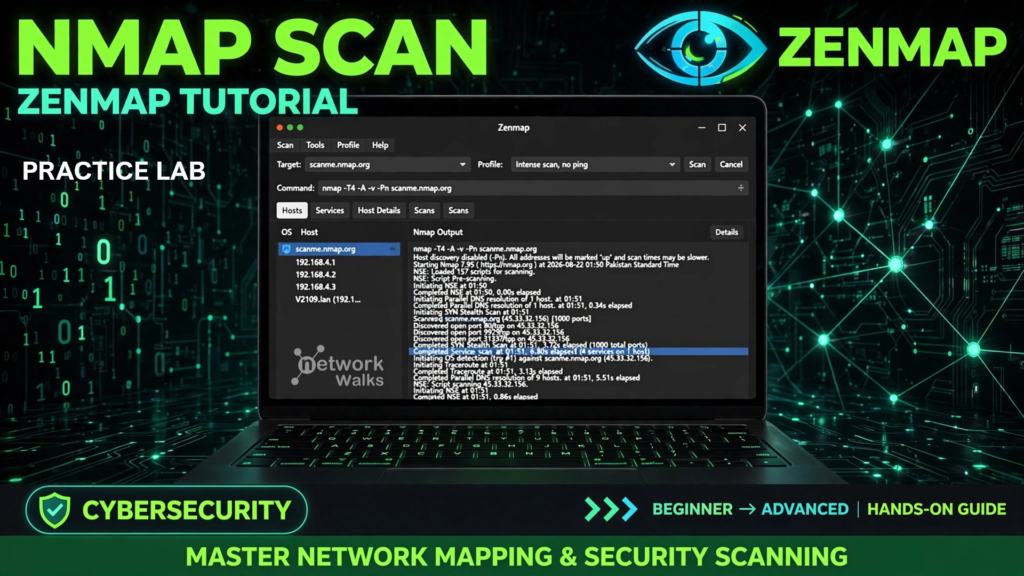
🔎 LAB PRACTICE – Network Scanning with Zenmap (Nmap)
Watch the video above first. Then download the lab PDF from the download section below. After that open Zenmap and complete all tasks one by one on your own computer.
📥 Lab File: Download Lab Guide
📖 Background
Zenmap is the official GUI version of Nmap which can be used on Windows PC. It is a security scanner software tool which is used by Cybersecurity professionals & Hackers. It is a multi-platform (Linux, Windows, Mac OS X, BSD, etc.) free and open source application which aims to make Nmap easy to use while providing advanced features for experienced Nmap users. Frequently used scans can be saved as profiles to make them easy to run repeatedly.
🎯 What will we do in this Lab?
In this lab you will learn how to scan a network using Zenmap, the graphical version of Nmap. You will scan your own WiFi first, then a legal practice target, and learn how to read the live hosts, open ports and services on a network.
🧰 Lab Environment Requirements
A Windows computer with internet (or Kali Linux). Nmap and Zenmap installed. Zenmap comes inside the Nmap installer so you only install once. Your own WiFi network to scan, which you own and control. About 20 minutes.
🧪 Lab Tasks
Task1 Download & install Zenmap from official website on your Windows PC
Task2 Find your local IP address & your LAN subnet
Task3 Find the list of live hosts/PC’s in your IP subnet
Task4 How many hosts are live in your subnet?
Task5 What are the IP addresses of the live hosts?
Task6 What are the MAC addresses of the live hosts?
Task7 Display & save the output topology in PDF Format on your desktop
🧪 SOLUTION
Task 1: Install Zenmap on your Windows PC
Go to the official Nmap download page and get the latest Windows installer. During setup keep the Zenmap box ticked so the graphical tool is installed with it. Finish the setup and open Zenmap from the desktop or Start menu.
Download link:
https://nmap.org/download.html
Task 2: Find your local IP address and your LAN subnet
Open Command Prompt and run the command below. Look for the IPv4 Address and the Subnet Mask under your active network adapter.
ipconfigIf your IP is something like 10.0.0.15 with a subnet mask of 255.255.255.0 then your network range is 10.0.0.0/24. The /24 means the first three numbers are the network and the last number is the individual devices on it. Your own subnet may be different, for example 192.168.1.0/24, so use whatever ipconfig shows on your PC.
Task 3: Find the list of live hosts in your subnet
Open Zenmap, type your own subnet in the Target box, then choose the Ping scan profile and click Scan. This scan does not check ports. It only finds which devices are alive on your network.
nmap -sn 10.0.0.0/24When it finishes, look at the Hosts list on the left side. These are the live devices such as your router, phone, laptop and any smart device on your WiFi.
Task 4: How many hosts are live in your subnet?
Read the last line of the Nmap Output, or count the entries in the Hosts list on the left. It will say something like 4 hosts up. Write down this number.
Task 5: What are the IP addresses of the live hosts?
From the Hosts list or the Nmap Output, note down the IP address of every live host, for example 10.0.0.1, 10.0.0.4, 10.0.0.5 and 10.0.0.19. Your router is usually the one ending in .1.
Task 6: What are the MAC addresses of the live hosts?
The Nmap Output shows a MAC Address line under each host it found. Note these down. Your own PC may not show its MAC in the scan, so run the command below and read the Physical Address of your adapter.
ipconfig /allTask 7: Save the network topology as a PDF
Click the Topology tab, then turn on the Legend and read what each host colour means. Click Save Graphic, choose PDF as the file type, and save it to your desktop. Keep this PDF as proof of your work.
⭐ Extra practice (optional)
Once your own network scan is done, you can practice on a legal public target that Nmap provides for exactly this purpose. Only use this one, never a site you do not own.
nmap -A -v scanme.nmap.orgThis fuller scan shows open ports, service versions and a guess of the operating system, which is the information a tester writes into a report.
📥 Download Files
Lab File: Download Lab Guide
🛠️ Questions & Answers SectionCommon Problems and Fixes
Q. What to do if Zenmap is not in my start menu?
A. You may have unticked it during install. Run the Nmap installer again and keep the Zenmap box ticked.
Q. What should I do if ny scan does not show any live hosts?
A. Check that you typed the correct subnet from ipconfig and that you added /24 at the end. Also make sure your firewall or antivirus is not blocking Nmap.
Q. Why my scan is very slow?
A. A Ping scan is fast. A full scan with -A takes longer because it checks versions and the operating system. Use it only when you need that extra detail.
Q. How to save the graphic as PDF?
A. Make sure you selected PDF in the file type list before saving. If it is greyed out, run the Topology view once so there is something to save.
Q. How to solve if Nmap asks for permission or Npcap fails?
A. Nmap needs Npcap to send packets. Allow it during install, and if a scan still fails, right click Zenmap and run it as administrator.
✅ After you finish
Complete all the tasks above on your own computer and save your topology PDF. For more free labs and cheatsheets visit our free resources page, and subscribe to the YouTube channel so you do not miss the next lab.
👍 Facebook: https://www.facebook.com/waqaskarimccie
🔗 Join me on LinkedIn: https://www.linkedin.com/in/waqaskarim
🔗 Free resources: https://networkwalks.com/free-resources
Zenmap scan configuration issues. Checked the target IP/hostname, selected the correct scan profile, and re-ran the scan.